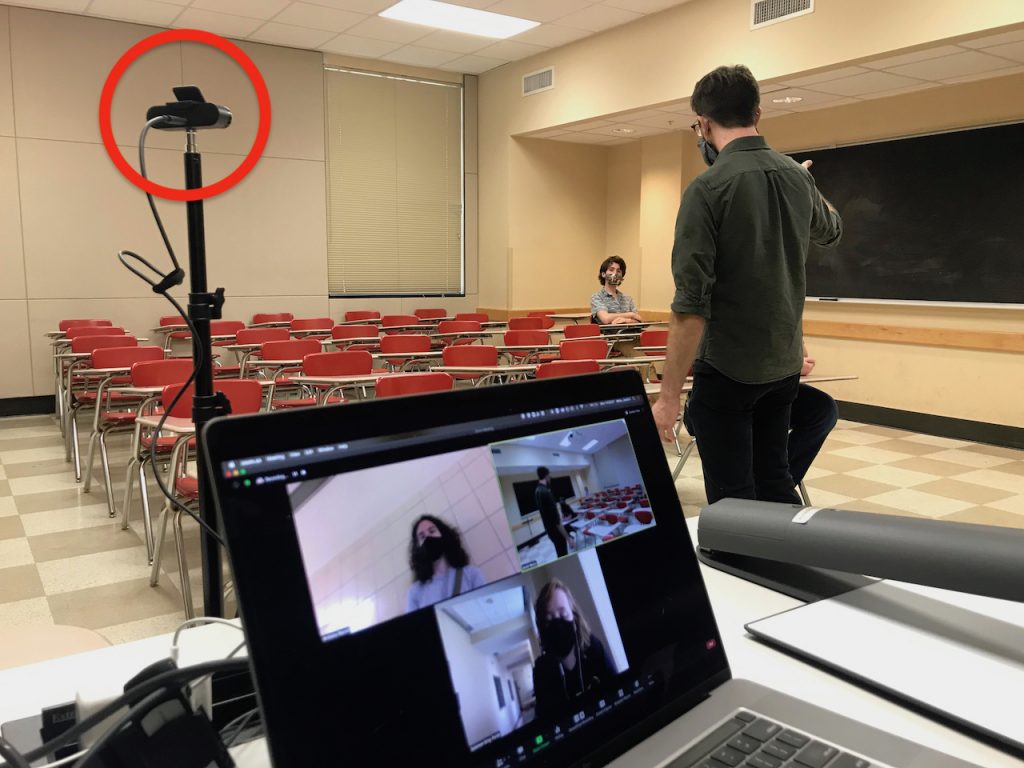
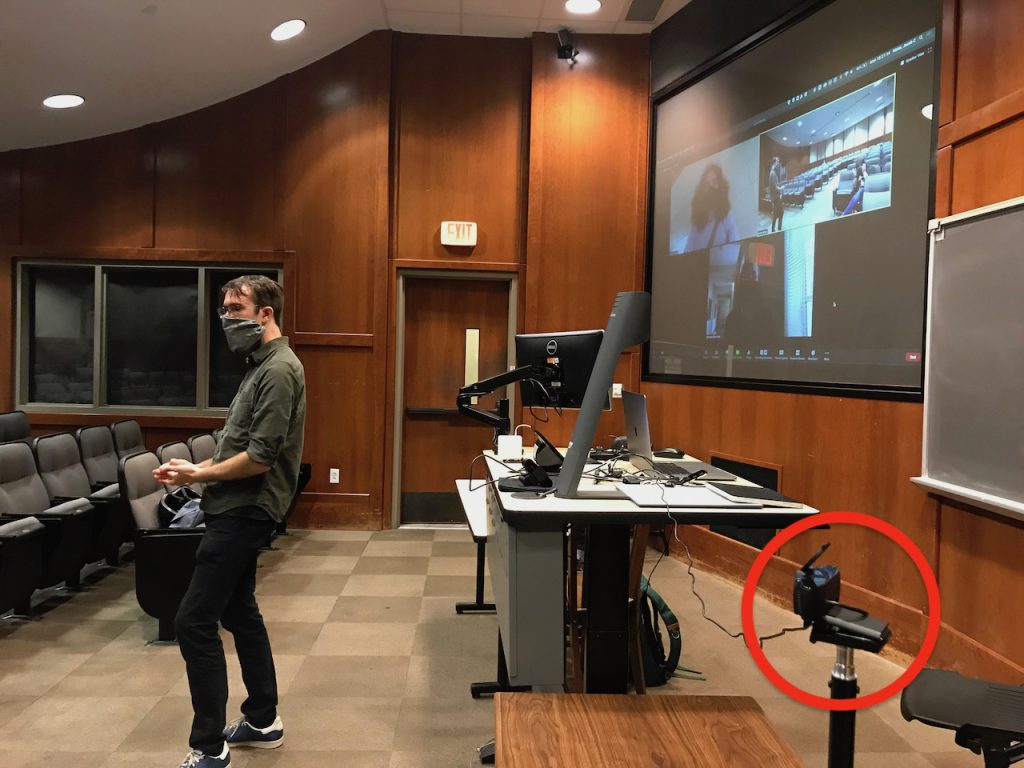
In this setup, the professor faces the class with the webcam off to the side, giving at-home students a good view of the professor and in-class students. In the Zoom window, you can see that students at home aren’t entirely closed off to what’s happening in the classroom. The professor can easily address in-class and at-home students alike.
Here are examples of how students will experience this setup:
You’ll need to choose the equipment you’ll be investing in according to the size of your class. For example, a large or auditorium-sized classroom requires a webcam with a built-in microphone capable of picking up students in the back. To address the class, the professor will have to turn away from the microphone. For these reasons, the Logitech Brio might be the best option to pick up audio during these moments. If you’re unsure of which webcam is right for you, you can refer to our size-specific classroom pages that provide more examples.
If this is the setup you think is best for your class, here is how you can achieve it:
Laptop Setup (if you plan on running applications off your laptop)
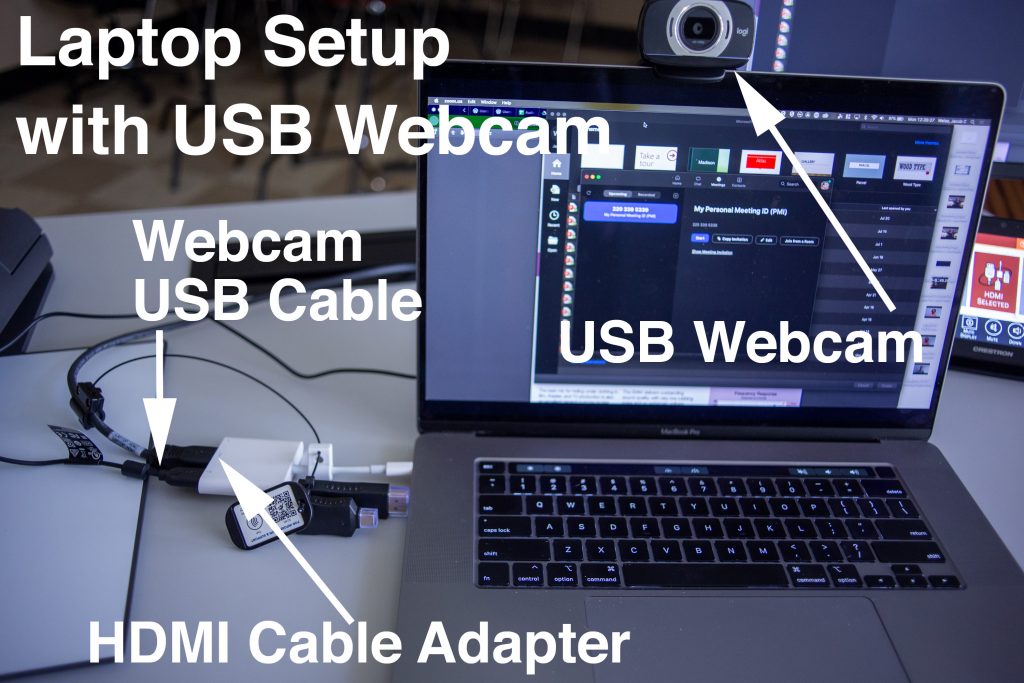
The image on the left shows you what your cable connections will look like. You’ll need to connect your laptop to the console via HDMI. You’ll also need to connect your webcam to your laptop via USB. Depending on your laptop, you may need to use the HDMI and USB cable adapter. Once you’ve hooked up your webcam, find a spot off to the side of the console and place it on your stand. You can use the Zoom window for reference and adjust the webcam to your liking. Make sure at-home students will get a good view of you and the classroom.
Make sure your USB cable has enough slack. If it doesn’t, you may want to consider purchasing a USB extension cable.
Computer Console Setup (if you plan on running applications off the classroom’s console)
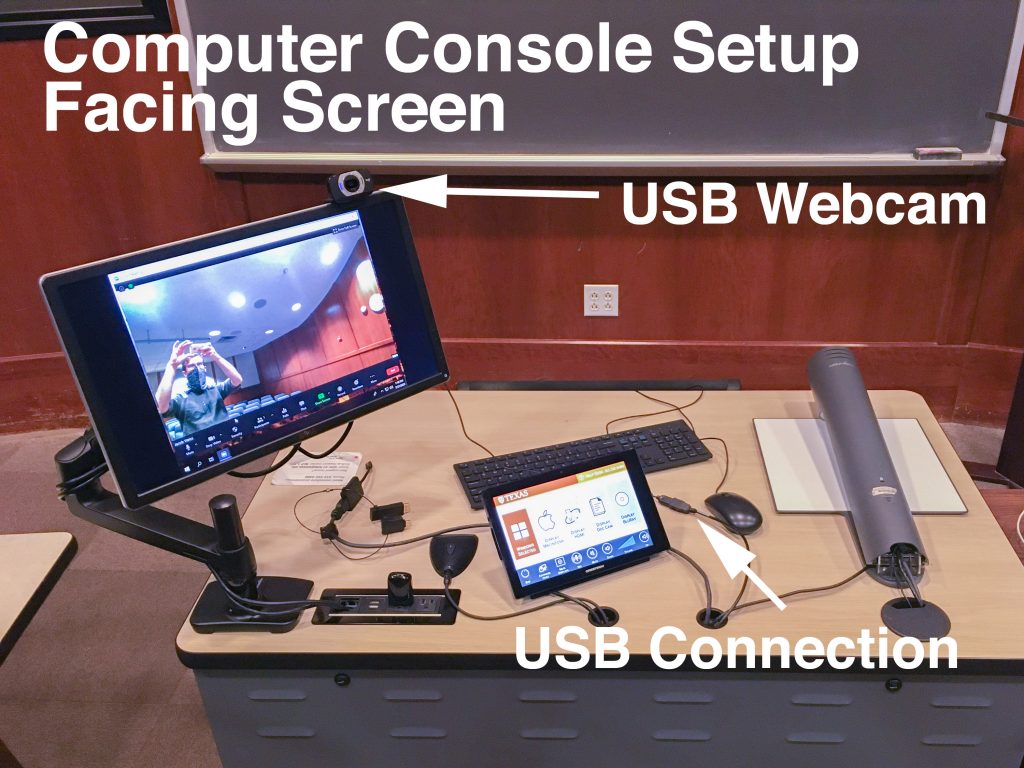
The image on the left shows you what your cable connections will look like. You’ll need to connect your webcam to the classroom’s console via USB. Once you’ve hooked up your webcam, find a spot off to the side of the console and place it on your stand. You can use the Zoom window for reference and adjust the webcam to your liking. Make sure at-home students will get a good view of you and the classroom.
Make sure your USB cable has enough slack. If it doesn’t, you may want to consider purchasing a USB extension cable.