Use this guide if the room normally seats 40-99 students.
Similar to the small classroom, set up for a medium-sized classroom will be fairly simple. However, compared to the small zoom classroom, you may need to invest more in equipment to capture your class size at the highest quality.
Setup Options
Lecturer and Class Facing Laptop, Built-in or External Webcam
You can use your personal laptop to capture the classroom at a side angle. While the built-in laptop cam will capture audio, we recommend using an external webcam for higher sound quality.
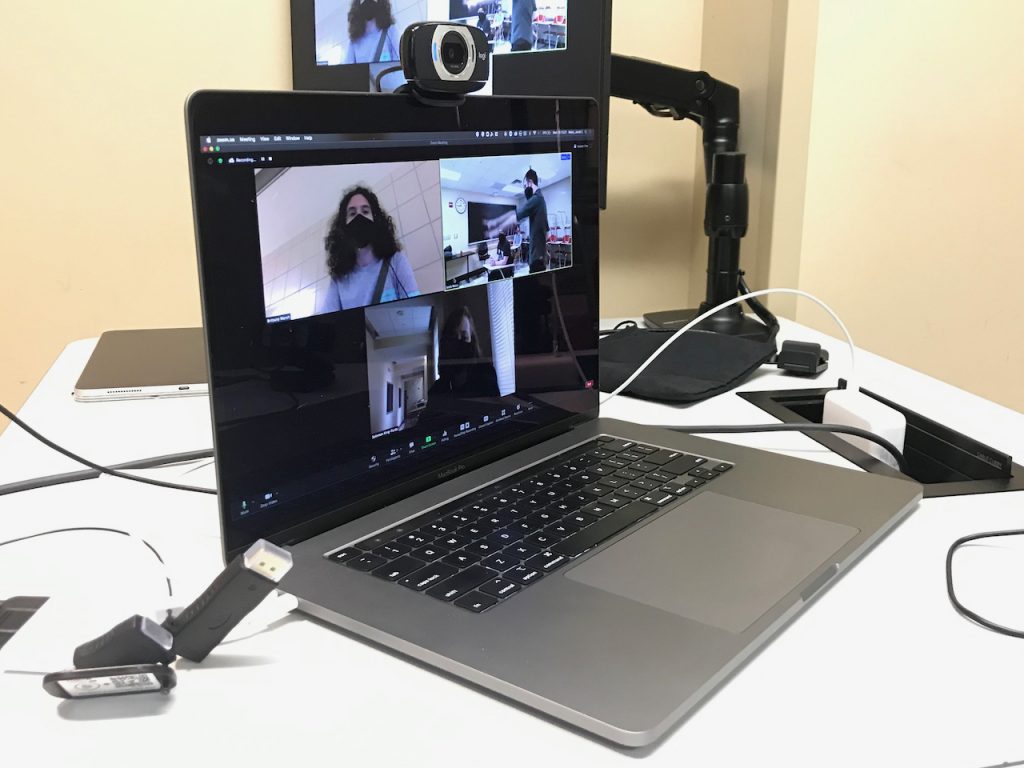
Logitech C615 External Webcam 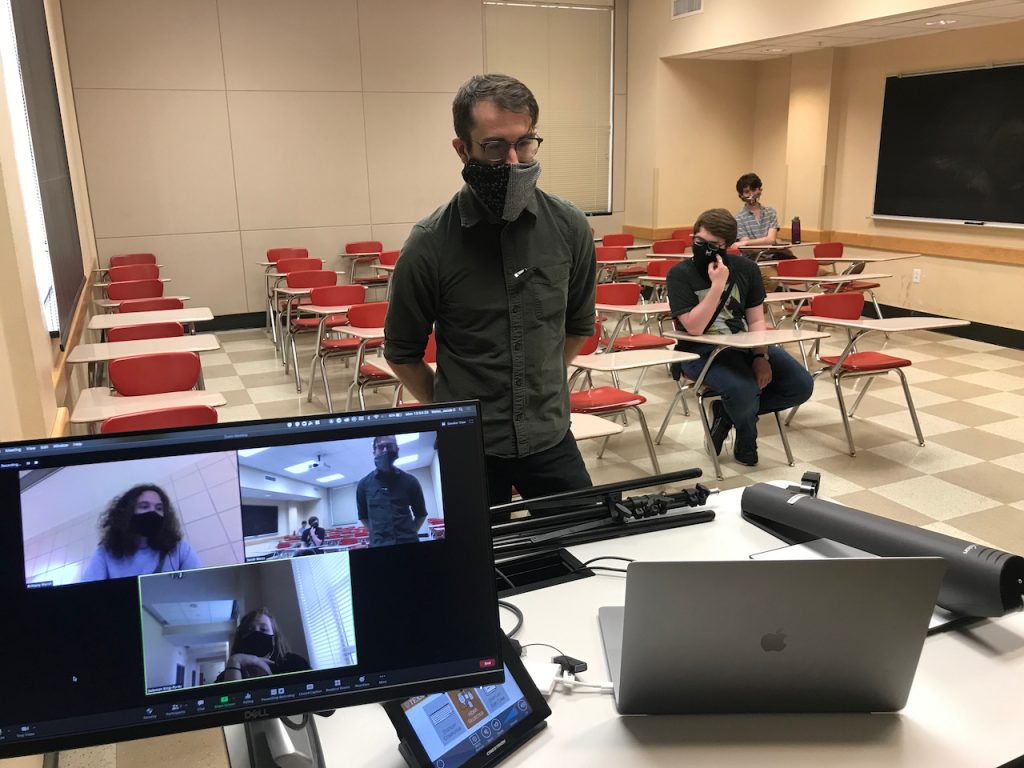
Using the Built-in Laptop Cam
Simply pivot your computer towards the students, turn on and attach your webcam if you have it, and position yourself and the students in the frame.
If you wish to have interaction between students on Zoom and students in the physical classroom, this is one option. There are some disadvantages, however. You must remain close to the laptop while lecturing, and also move out of the way for the at-home students to see the class. If you use your built-in laptop camera, it will be very difficult for at-home students to hear in-class discussion. We recommend using the Logitech C615 or another external webcam for the best result.
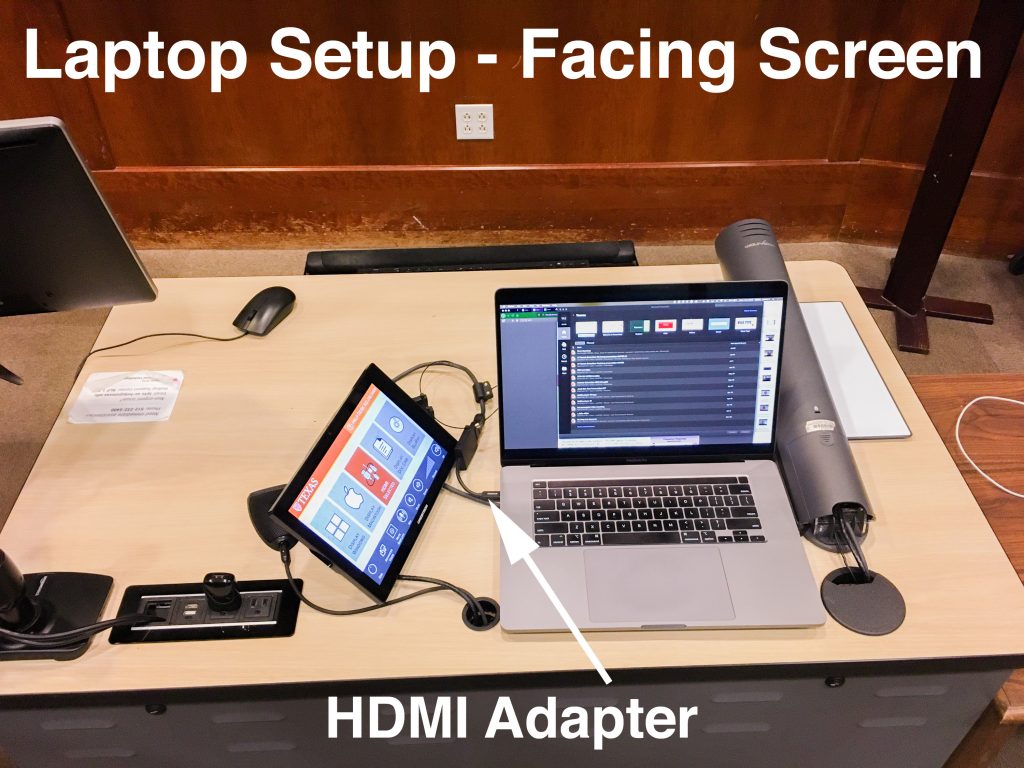
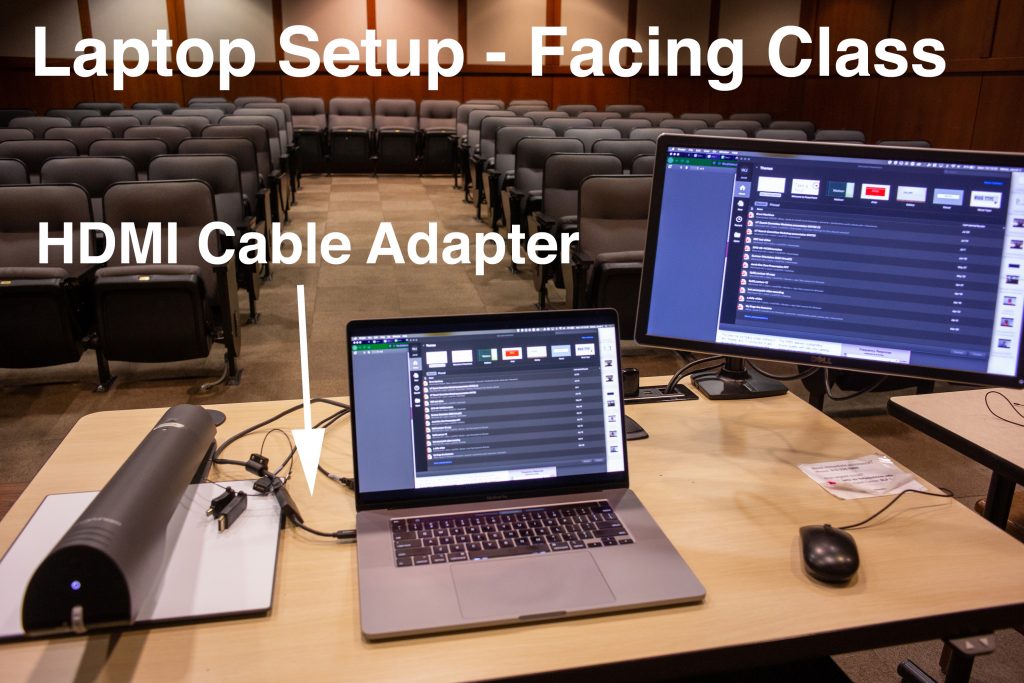
If this is the setup you want to use, here is what your cabling will look like:
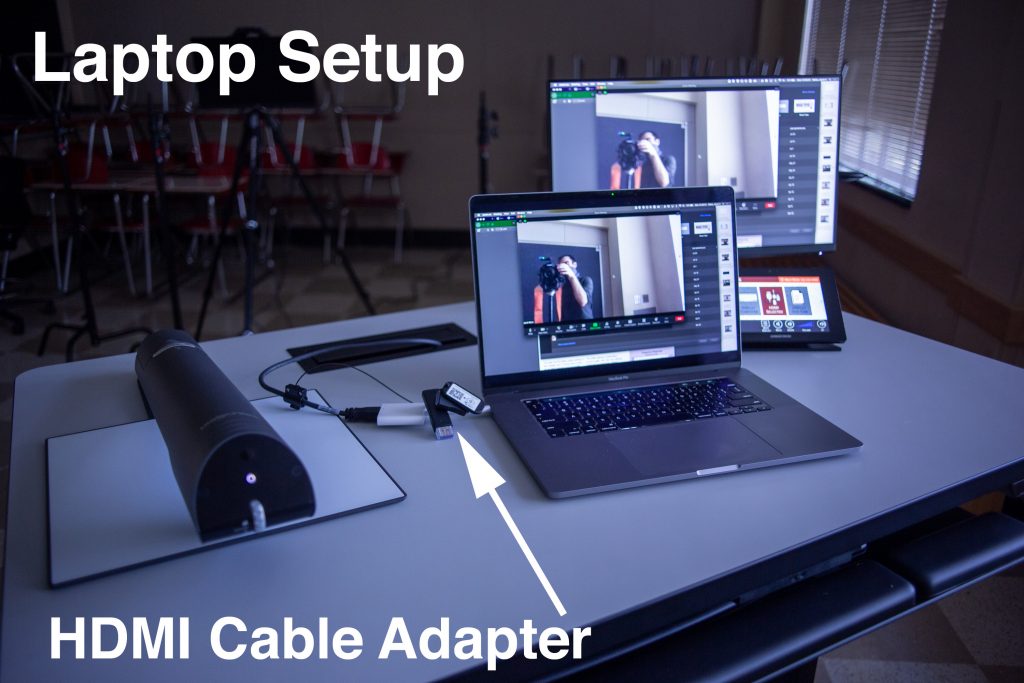
Laptop Setup (if you plan on running applications off your laptop)
The image on the left uses an external webcam. If you’ve decided to use an external webcam, your cable connections will look similar to those in the image. You’ll need to connect your laptop to the console via HDMI. You’ll also need to connect your webcam to your laptop via USB. Depending on your laptop, you may need to use the HDMI and USB cable adapter.
The image on the right uses the laptop’s built-in webcam. If you’ve decided to use your own laptop’s built-in webcam, you’ll only need to connect your laptop to the classroom console with the HDMI cable. Depending on your laptop, you may need to use the HDMI cable adapter.
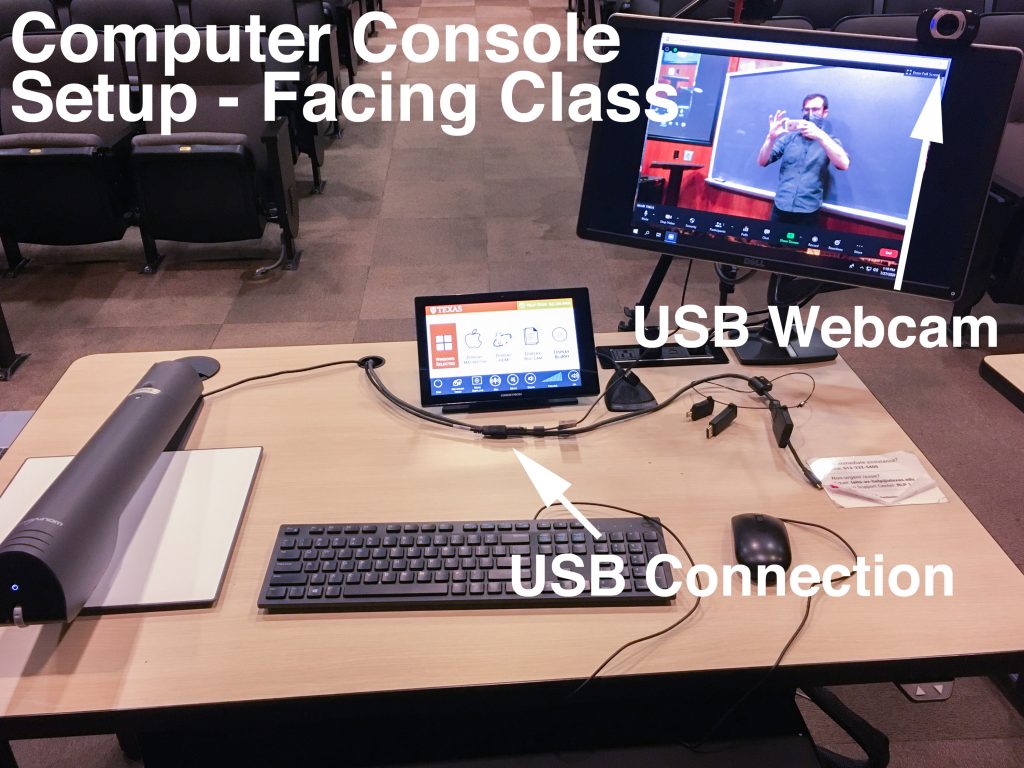
Computer Console Setup (if you plan on running applications off the classroom’s console)
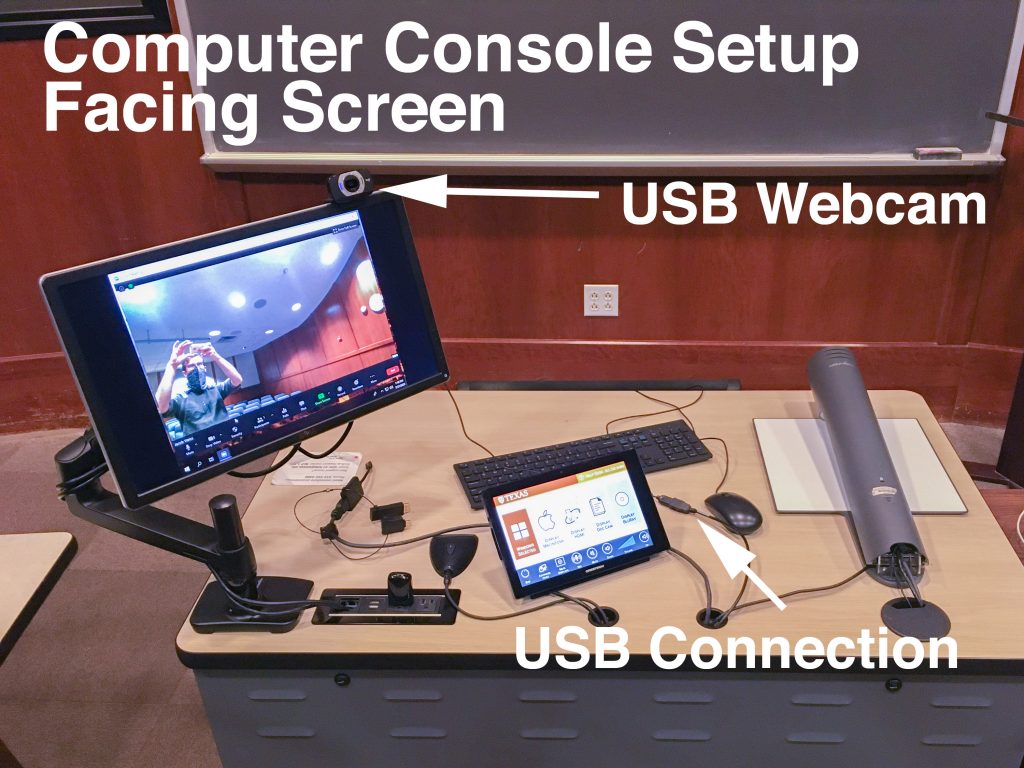
You will need an external webcam if you plan on running this setup off the classroom’s computer console. In fact, it’s all you’ll need.
Webcam + Stand / Tripod Setup
Placing the webcam on a stand will vastly improve your setup. The addition of a stand will allow for more flexibility and positioning, and the webcam microphone will do a better job of picking up audio from subjects who are both close and far away. This is a great option to use if you wish to have student interaction.
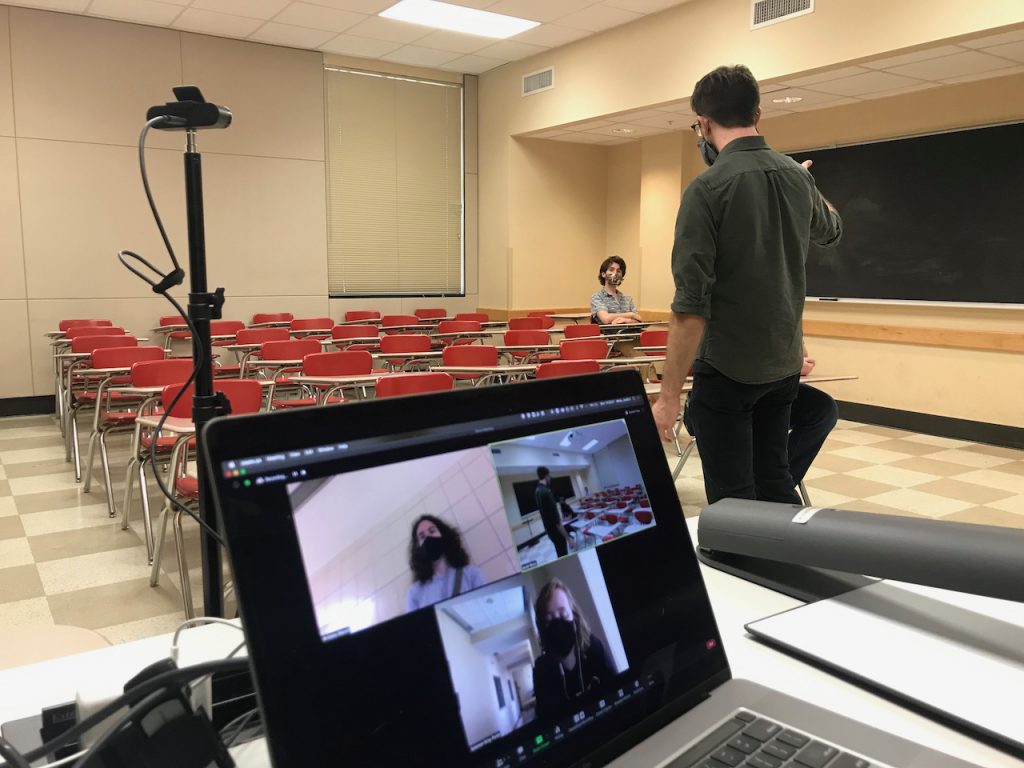
Logitech BRIO on a stand, interfacing with Zoom. 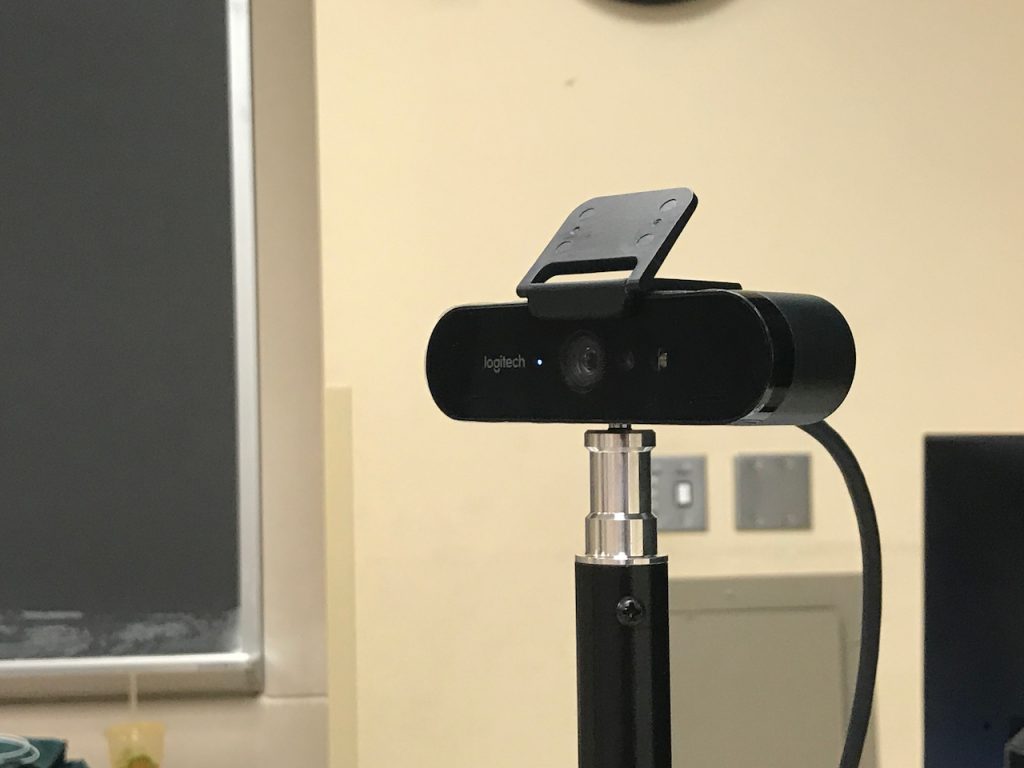
Logitech BRIO on a stand, facing the classroom.
Discussion Toward Lecturer
Discussion Toward Camera
If this is the setup you want to use, here is what your cabling will look like:
Depending on whether or not you plan on using your personal laptop, the setup will be different. Rather than attaching your external webcam to the monitor you’re using, you’ll need to find a spot to the right or left of your desk to place your webcam and stand.
We recommend purchasing a stand that will rise up from the floor, since it is more easily moved and has more options for angles:
- AmazonBasics Lightweight Camera Mount Tripod
- Selfie Stick Tripod – Currently unavailable on Amazon
Sharing Content via Screen-Share
Steps to Set Up Screen-Share
Regardless of the setup you use, you can always count on sharing content via screen-share using these easy steps:
- Pull up the Zoom window
- In the toolbar along the bottom, find and click the button that says “Share Screen” in green
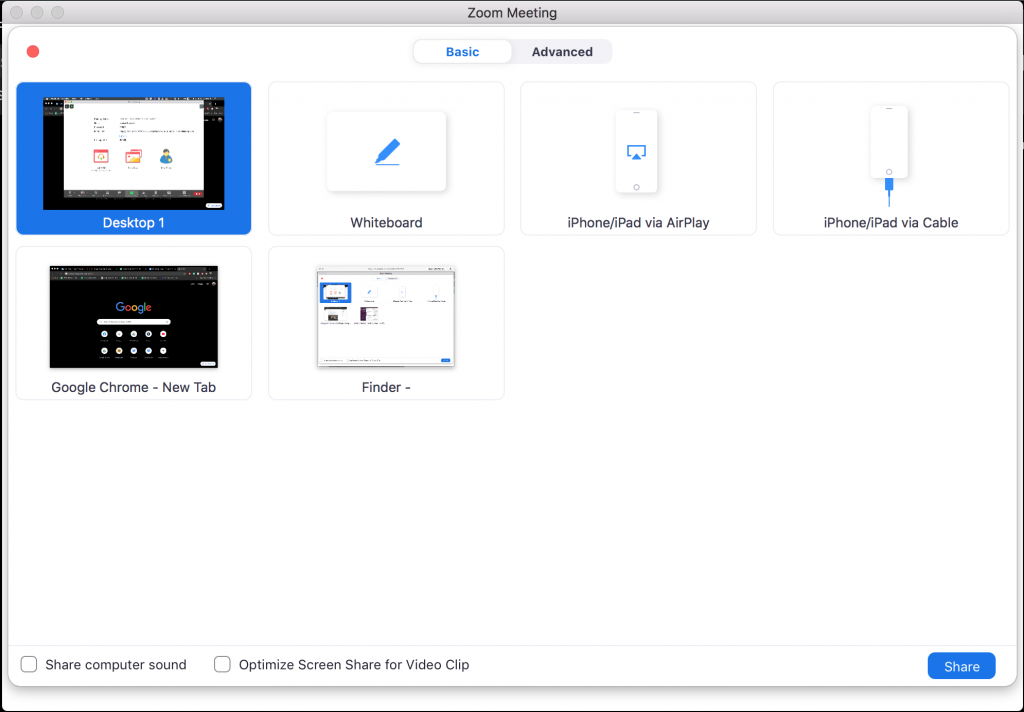
- A new window will appear asking what you would like to share, allowing you to choose from individual applications or desktops
- Click whichever you’d like to share, and it will be made visible to the class!
When you are done sharing your screen, simply navigate to the top center of the window and click “Stop Share.”
Here is a short example of how this feature works:
Content You Can Share
As you can see, there are many different ways in which you can share content with screen-share.
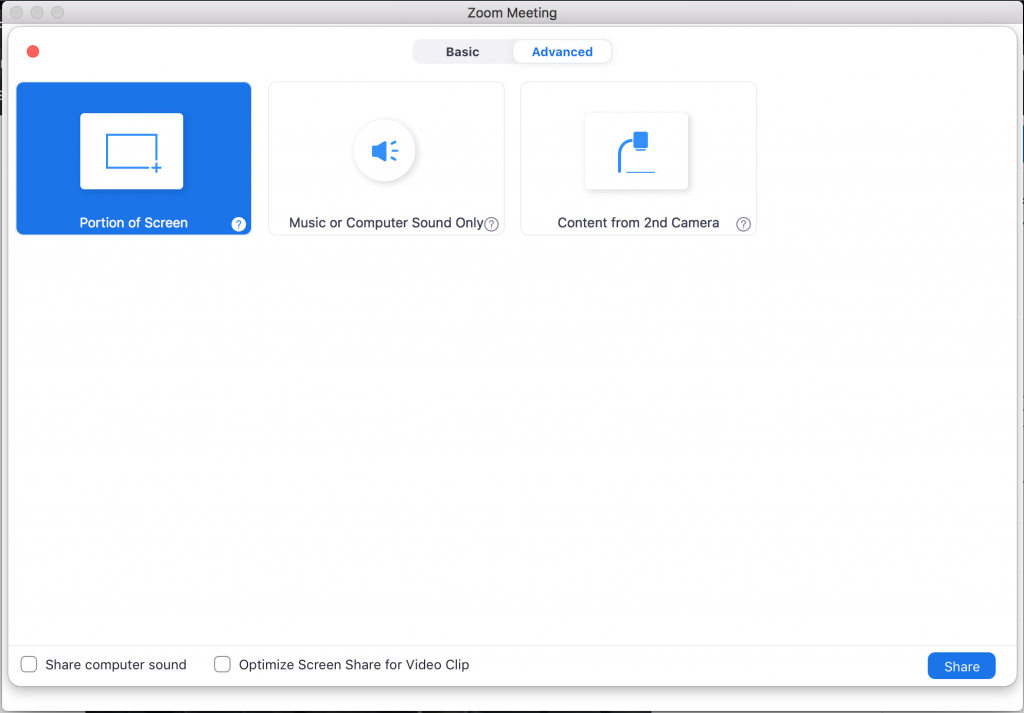
For example, if you want to share computer audio only, navigate over to the Advanced Screen-Share options by clicking “Advanced” at the top center of the screen, and then click “Music or Computer Sound Only.”
Recommended Equipment
Webcam Options
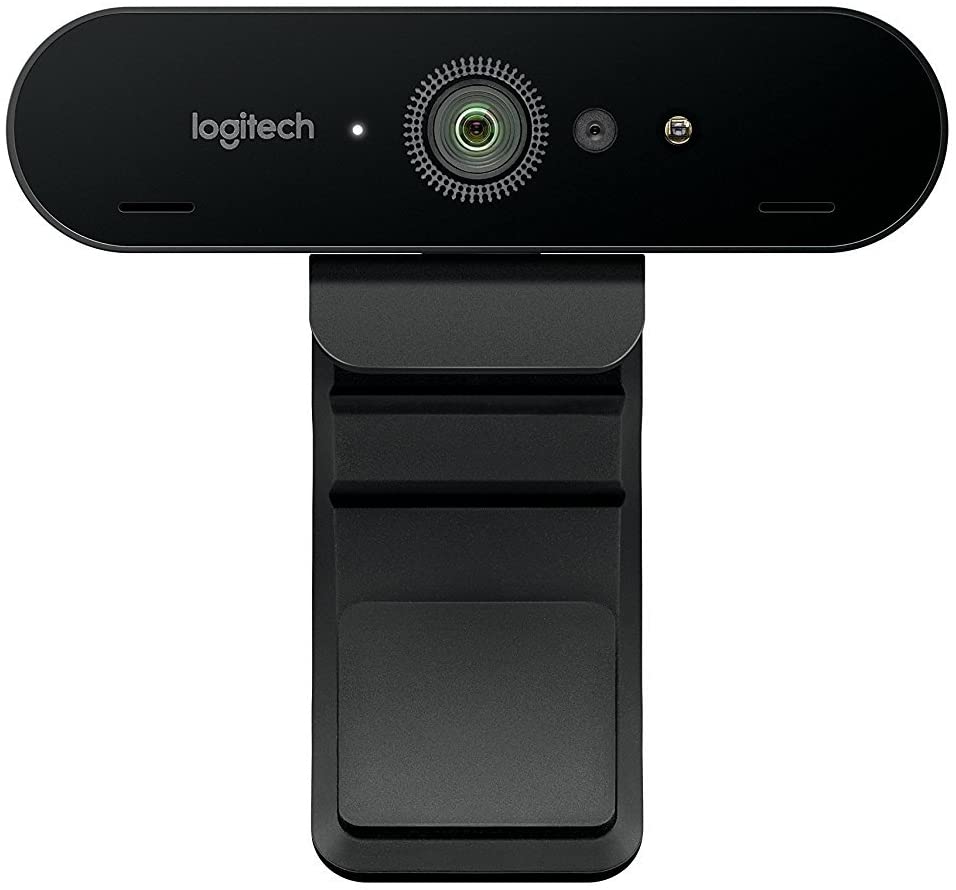
Logitech BRIO Ultra HD 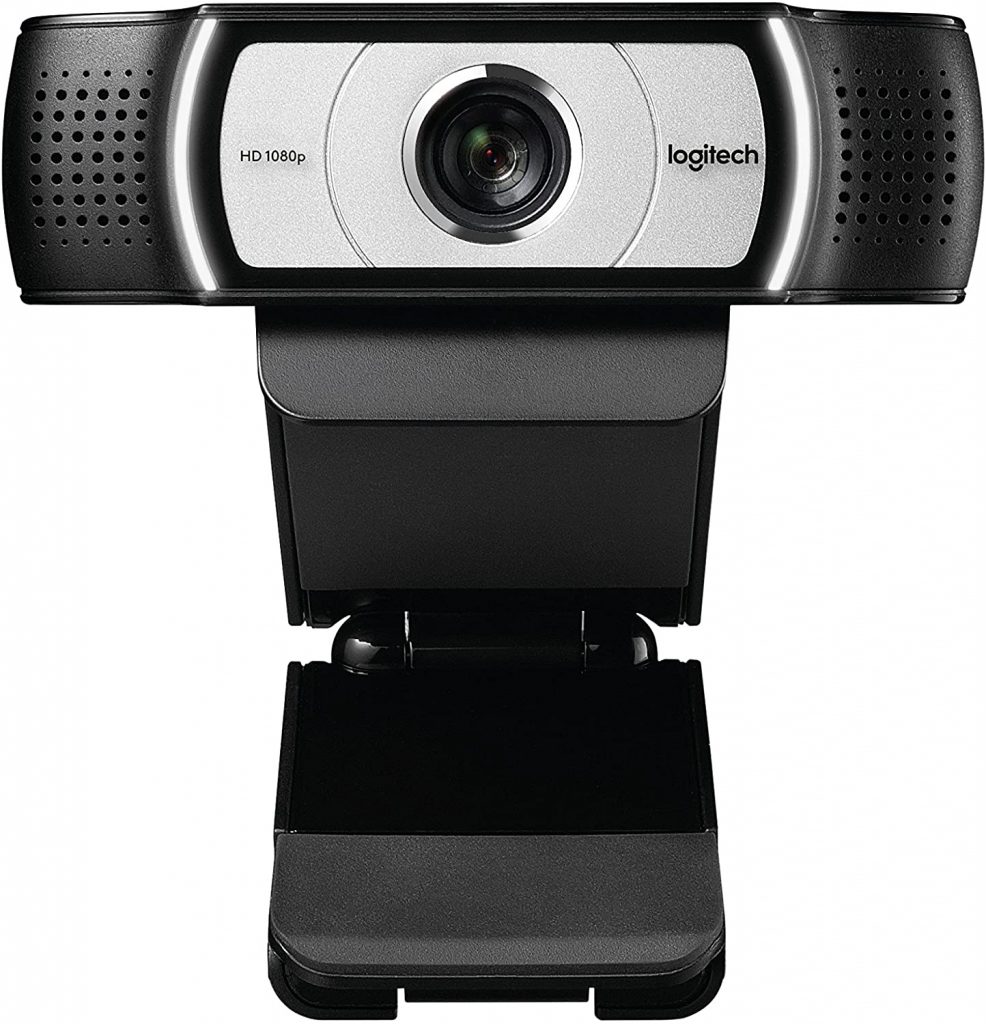
Logitech C930e 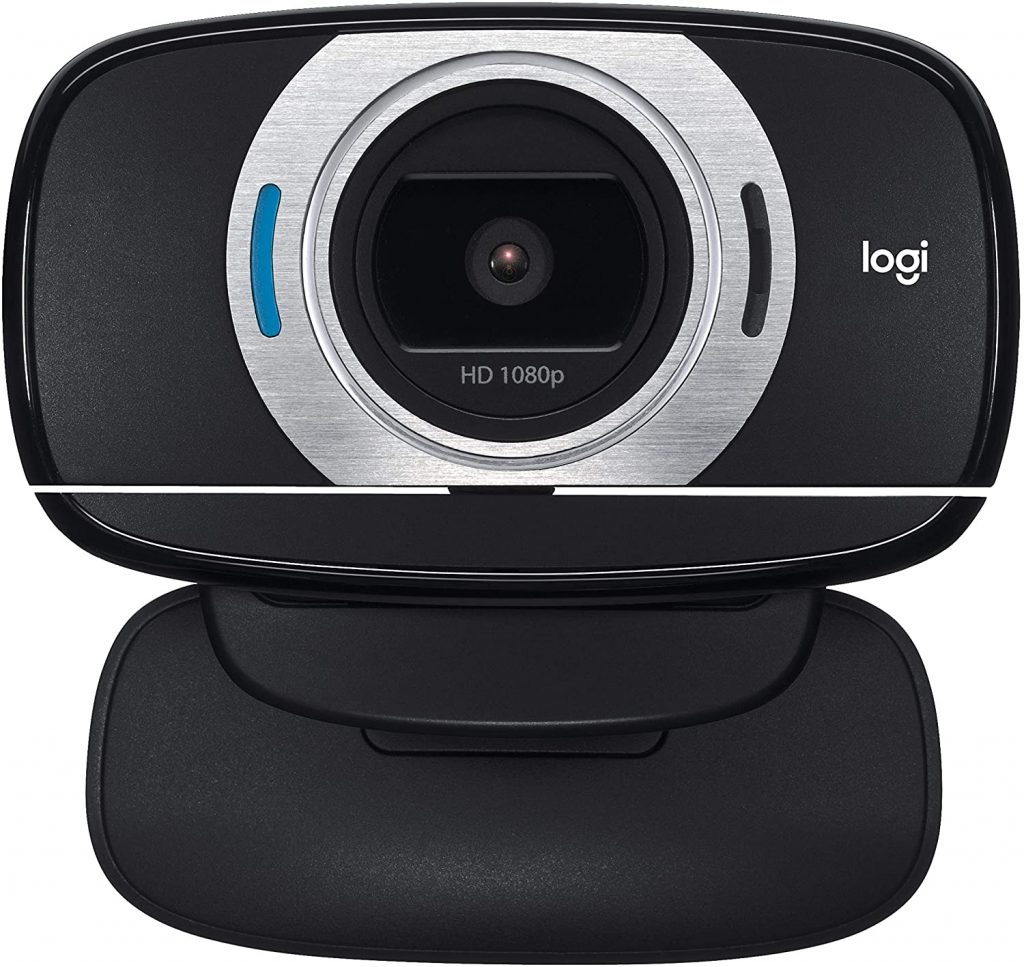
Logitech C615 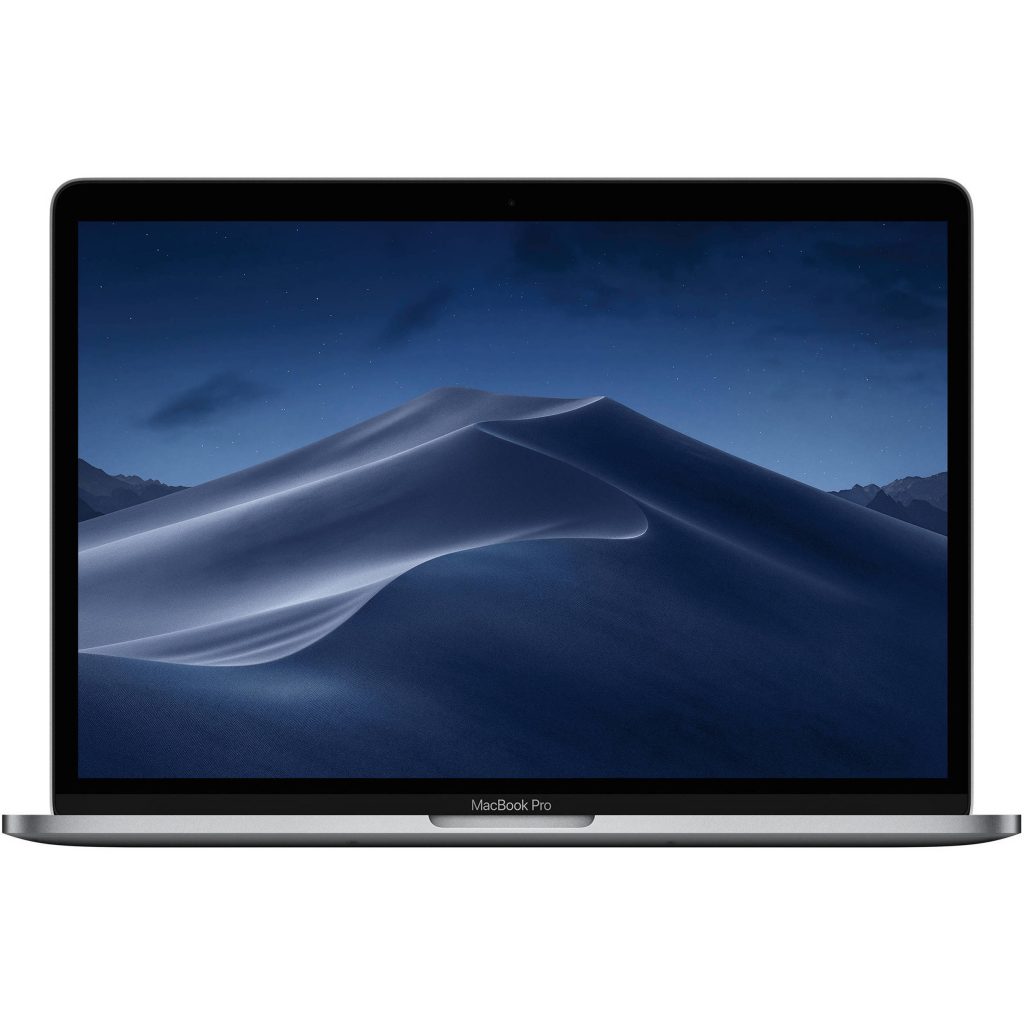
Personal Laptop’s Built-In Webcam
*NOTE – Depending on how the USB adapters are set up in the computer consoles in certain classrooms, there may not be enough USB bus power to properly power a webcam. If possible, we encourage you to test out your webcam in the classroom ahead of your first class if you are going to use this method.
Logitech BRIO Ultra HD
This webcam has a great built-in microphone that picks up the professor when their back is turned as well as students at the back of the class. If your classes are discussion heavy, this might be the right webcam for you.
Here is a video of the Logitech BRIO Ultra HD in action:
Here are links to purchase the Logitech BRIO Ultra HD:
Logitech C930e
Personal Laptop’s Built-In Webcam
Using your laptop’s built-in webcam and microphone is convenient, but the audio quality is not as good and will not work well for classroom discussions. The laptop’s camera cannot pick up students in the back, making it difficult for at-home students to follow the discussion. You’ll need to repeat in-person student’s questions and answers frequently. However, if you are unable to procure a webcam, this option could still work for you.
Here is a video of a Macbook’s built-in webcam in action:
Webcam Stand
If you decide to use the Side-Angle setup, you’ll need a webcam stand.
Here are a few options:
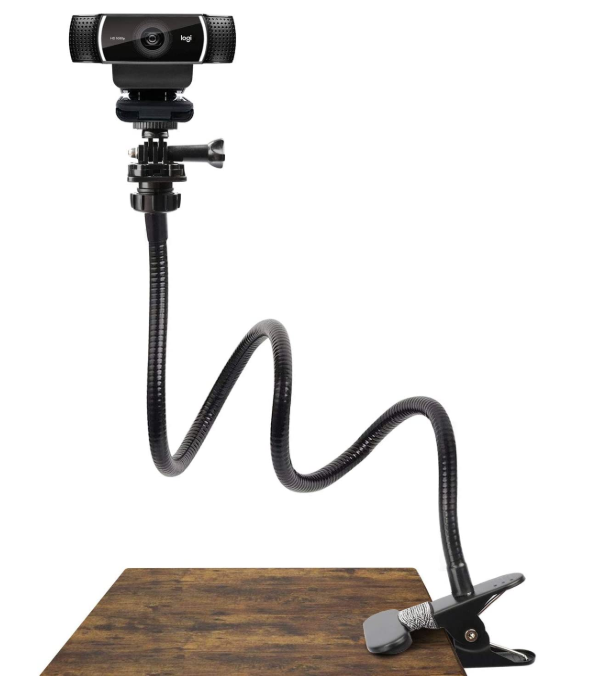
25 Inch Webcam Stand 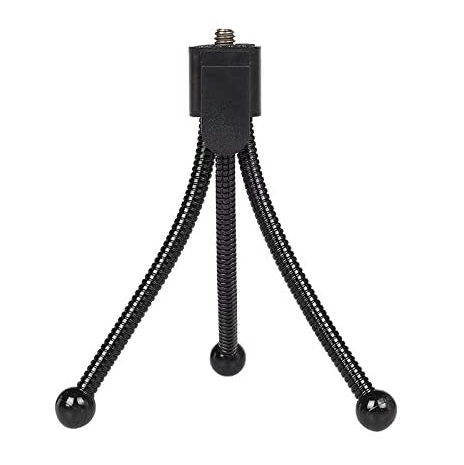
LarmTek Webcam Stand 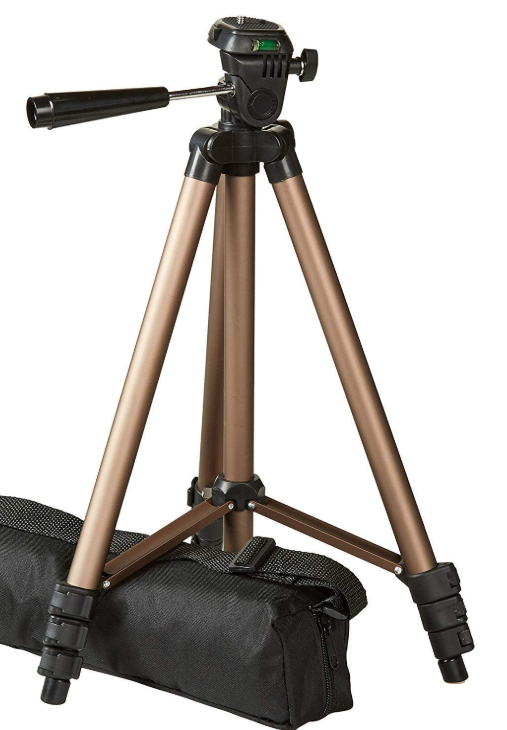
AmazonBasics Lightweight Camera Mount Tripod Stand 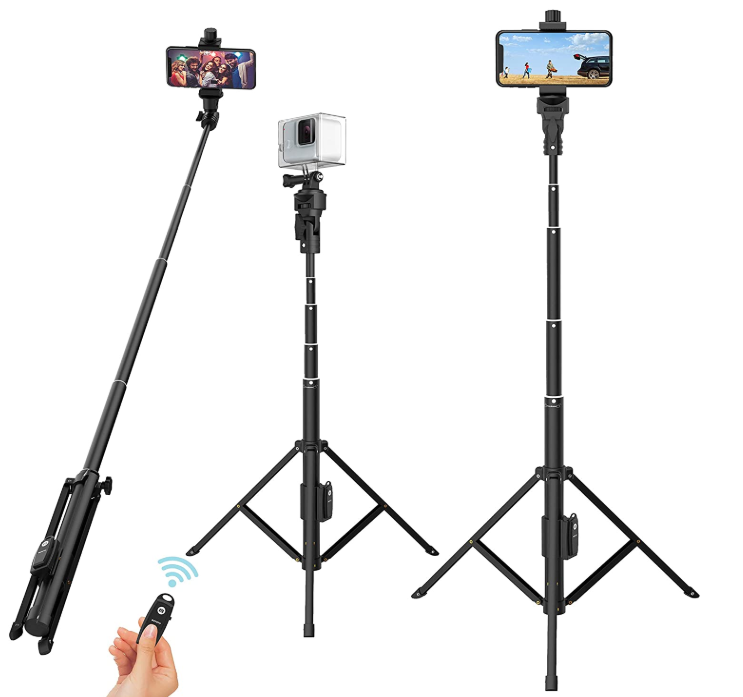
Selfie Stick Tripod
Here are the links to purchase these stands:
- 25 Inch Webcam Stand
- LarmTek Webcam Stand
- AmazonBasics Lightweight Camera Mount Tripod Stand
- Selfie Stick Tripod – Currently unavailable on Amazon
In addition, you may need an extension cable depending on where you place your webcam. You can find a USB extension cable here.
Setting Up Your Webcam
External Webcam
Laptop Setup (if you plan on running applications off your laptop)
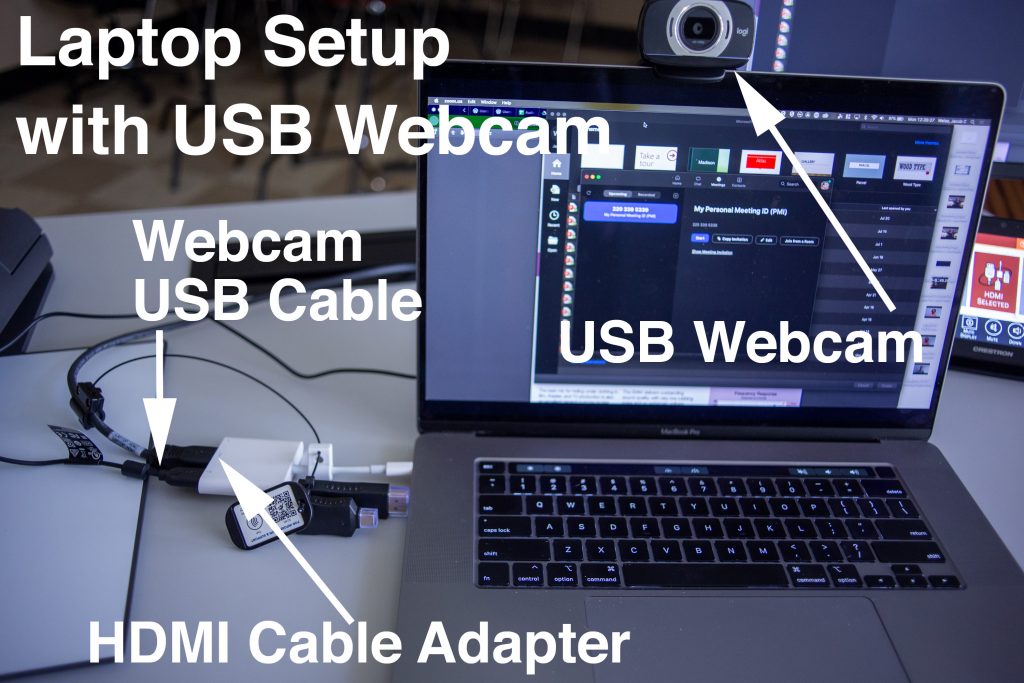
If you’ve decided to use an external webcam, your cable connections will look similar to those in the image. You’ll need to connect your laptop to the console via HDMI. You’ll also need to connect your webcam to your laptop via USB. Depending on your laptop, you may need to use the HDMI and USB cable adapter.
If you want to use the side-angle classroom setup, your cable connections will still look like those above. Instead of placing the webcam on your laptop, you’ll find a spot in the room to place it on your stand. Make sure to purchase a USB extension cable if your webcam’s cable doesn’t reach the console’s cable, or if you don’t have enough slack. Having a little extra slack can help you avoid accidents such as tripping over the cable or toppling the webcam. The USB extension cable link can found at the bottom of Webcam Stands under Recommended Equipment.
Computer Console Setup (if you plan on running applications off the classroom’s console)
If you decide to run off the classroom’s console, then you only need to plug your webcam in via USB.
If you want to use the side-angle classroom setup, your cable connections will still look like those above. Instead of placing the webcam on the console’s screen, you’ll find a spot in the room to place it on your stand. Make sure to purchase a USB extension cable if your webcam’s cable doesn’t reach the console’s cable, or if you don’t have enough slack. Having a little extra slack can help you avoid accidents such as tripping over the cable or toppling the webcam. The USB extension cable link can found at the bottom of Webcam Stands under Recommended Equipment.
Personal Laptop’s Built-In Webcam
If you’ve decided to use your own laptop’s built-in webcam, you’ll only need to connect your laptop to the classroom console with the HDMI cable. Depending on your laptop, you may need to use the HDMI cable adapter.
Recommendations for Hybrid Classroom Teaching
Recommendations for Lecturing
Most modern microphones sound good if used properly.
Whether you’re using a smartphone, laptop, headphones or a professional microphone, microphones largely depend on two factors to sound good:
- The closer you are to a microphone (within reason), the better you will sound. This is why you hold a phone up to the side of your mouth when you talk or hold a microphone up to your mouth when you are speaking at a conference or singing karaoke.
- The quieter your environment and the room you are in, the better your audio will sound. If students are talking and the classroom is noisy, it may be difficult for Zoom participants to hear properly. Loud ambient noises like AC or fans may also cause a problem. Although it is often difficult to control in a classroom, minimizing these kinds of noises when possible is recommended.
Regardless of your setup, it would be beneficial for the lecturer to repeat any questions or discussion points brought up by in-class students to the at-home students. Doing so helps them stay connected to what is happening in the classroom.
Recommendations for At-Home Students
In order to listen to Zoom participants, you’ll need to connect your computer to the classroom console. Once you do so, your computer’s audio will output to the classroom sound system, and both you and your students will be able to hear when Zoom participants ask questions.
Students on Zoom will need to be given the ability to unmute themselves, but they should all remain on mute until they are called on or have a question. Using the built-in speakers on your computer as an alternative is not recommended as this could lead to feedback (and will also make it harder to hear students on Zoom).
However, some classes may not be equipped to output your computer’s audio. In this case, built-in speakers might be the best option.
Computer Settings
Computer Settings to Check Before a Recording or Broadcast
- Always remember to plug your computer into a charger if you are using a laptop. Not only will you ensure your computer battery does not die during your class, but most laptops operate faster and with more power if they are connected to external power sources.
- Close out of all applications that you do not need for your video session. The fewer programs that you have open, the more processing power and RAM your computer will have access to.
- Turn off computer notifications. Notifications can be distracting when you are trying to lecture, and they can get in the way of your computer screen if you are sharing materials. You can find instructions on turning them off here:
- If possible, the day before a broadcast or recording, we recommend you check to make sure all of your software is up to date. This could include Zoom, PowerPoint, your Operating System, and any additional software you are using.
